Consent flow
OAuth2 and OpenID Connect require an authenticated End-User session for all OAuth2 / OpenID Connect flows except the
client_credentials flow which does not involve End-Users.
Ory OAuth2 & OpenID Connect doesn't contain a database with End-Users but instead uses HTTP Redirection to "delegate" the login and consent flow to another app - we call this the Login & Consent App.
The following short video shows the flow from an End-User's perspective - it includes both login and consent.
Please read Login Flow first, as the Login Flow happens before the consent flow.
The following sequence diagram describes the different API calls and HTTP Redirects when performing the OAuth2 flow:
Redirection to the consent endpoint
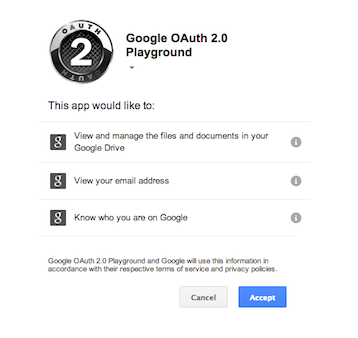
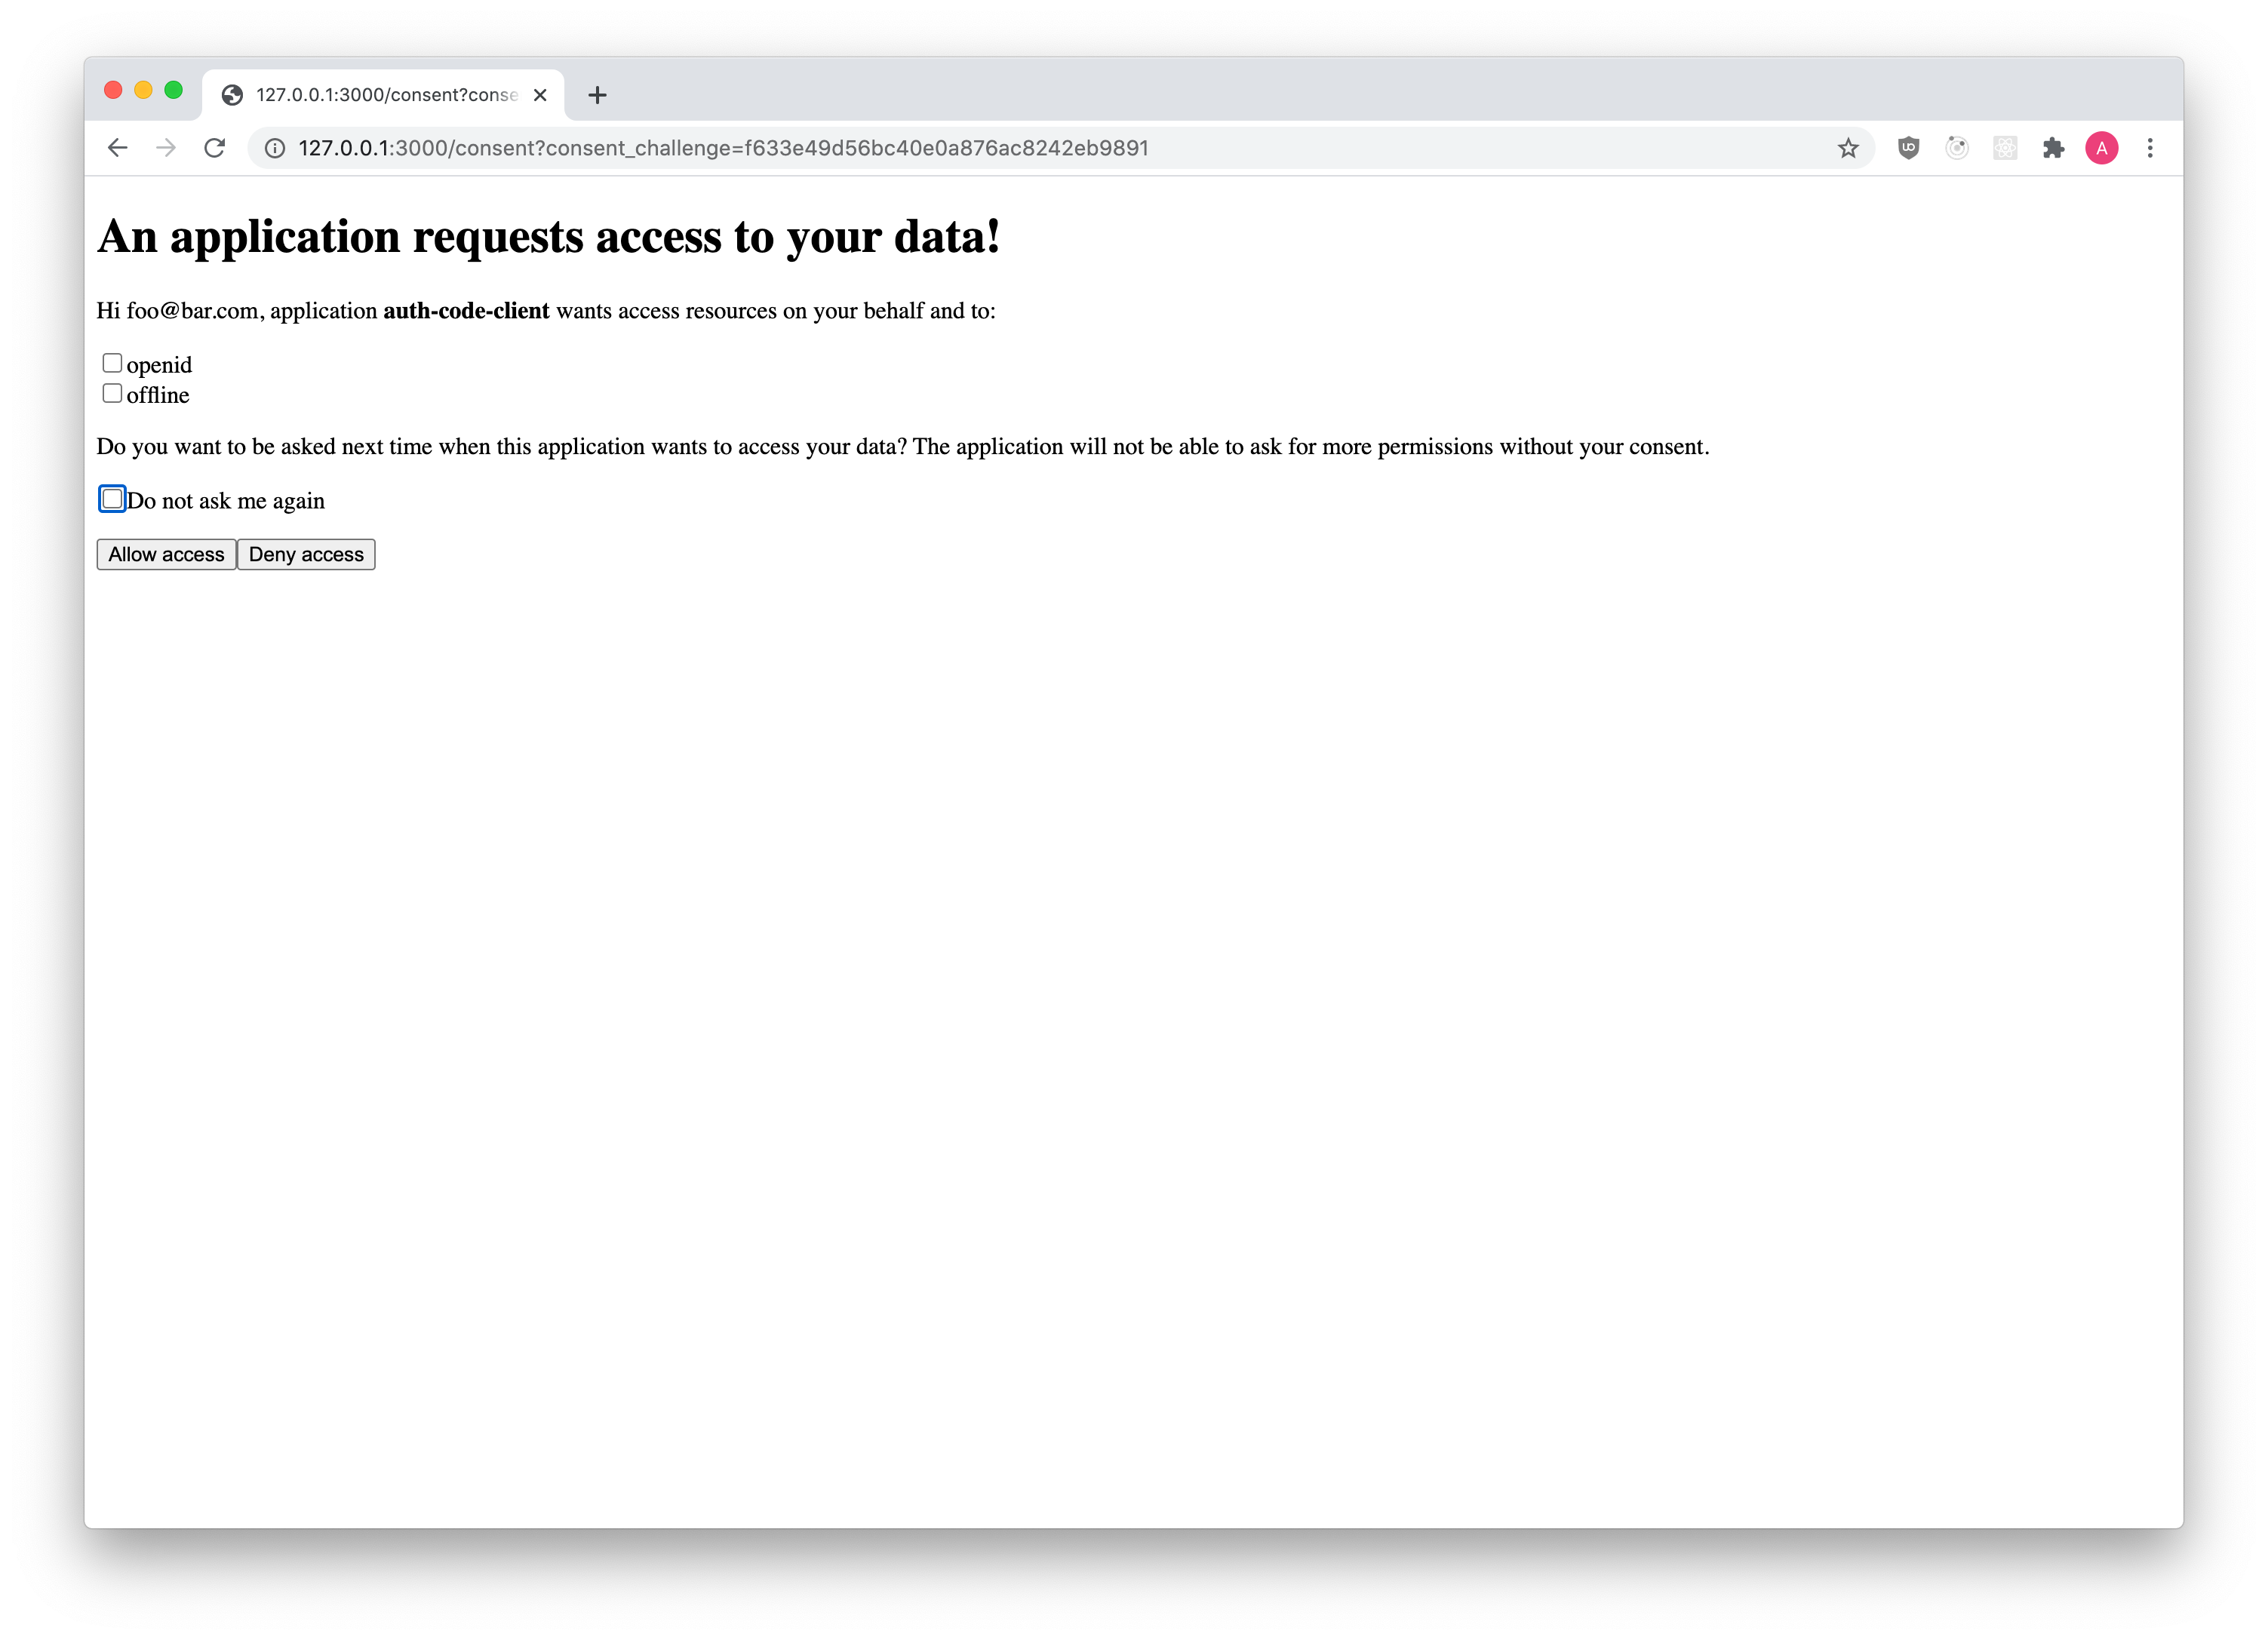
Once the login challenge is accepted, Ory OAuth2 & OpenID Connect will ask the user for consent:

The UI is fully under your control, because Ory OAuth2 & OpenID Connect redirects the End-User's browser to the "Consent Endpoint" established in your config:
# Can also be set using the environment variable:
#   URLS_CONSENT=https://consent-app/consent
urls:
  consent: https://consent-app/consent
You can implement the Login and Consent endpoints in the same code base / application. Check out our Login, Consent & Logout Node.js Reference implementation!
Ory OAuth2 & OpenID Connect appends a consent_challenge query parameter to the url. The value is a ID which should later be used
by the Consent Endpoint to fetch important information about the request.
https://consent-app/consent?consent_challenge=7bb518c4eec2454dbb289f5fdb4c0ee2
Previous consent
A consent has four distinctive attributes:
- The requested scope (
/oauth2/auth?...&...&scope=email+profile+offline_access); - The OAuth2 Client (
/oauth2/auth?client_id=abcd); - The End-User (this is the
subjectset in the Login Flow); - Whether or not a previous consent exists, the previous consent has
remember: true, and the scope granted by the user (did the user accept all ofemail,profile,offline_access?)
There are three possible states:
- The user has never before authorized ("consent") the OAuth2 Client before.
- The user has authorized ("consent") the OAuth2 Client before and chose to remember the "consent".
- The user has authorized ("consent") the OAuth2 Client before, and chose to remember the "consent", but the OAuth2 Client now
also wants additional permissions ("has changed the token scope" in
/oauth2/auth?scope=...).
Regardless of which of these three states we're in, the End-User's browser is always redirected to the consent endpoint. What
changes is the skip value, as explained a bit later.
In certain scenarios (for example a special OAuth2 Client) you might not want to show the consent screen at all. In those cases you can choose to skip showing the UI and just accept the consent. Please keep in mind that OAuth2 is a delegation protocol and that it makes most sense for third-party access. Not showing the consent screen will break OpenID Connect Certification.
The consent endpoint
The Consent Endpoint (set by urls.consent) is an application written by you. You can find an exemplary
Node.js reference implementation on our GitHub.
The Consent Endpoint uses the consent_challenge value in the URL to fetch information about the consent request by making a HTTP
GET request to:
http(s)://<HYDRA_ADMIN_URL>/oauth2/auth/requests/consent?consent_challenge=<challenge>
The response (see below in "Consent Challenge Response" tab) contains information about the consent request. The body contains a
skip value. If the value is false, the user interface must be shown. If skip is true, you shouldn't show the user interface
but instead just accept or reject the consent request! For more details about the implementation check the
"Implementing the Consent Endpoint" Guide.
- UI
- curl
- Consent Challenge Response

curl \
  "http://127.0.0.1:4445/oauth2/auth/requests/consent?consent_challenge=7bb518c4eec2454dbb289f5fdb4c0ee2"
Check the "Implementing the Consent Endpoint" Guide for examples using the Ory OAuth2 & OpenID Connect SDK in different languages.
{
  "challenge": "f633e49d56bc40e0a876ac8242eb9891",
  "requested_scope": ["openid", "offline"],
  "requested_access_token_audience": [],
  "skip": false,
  "subject": "foo@bar.com",
  "oidc_context": {
    "acr_values": [],
    "display": "",
    "id_token_hint_claims": {},
    "login_hint": "",
    "ui_locales": []
  },
  "client": {
    "client_id": "auth-code-client",
    "client_name": "",
    "redirect_uris": ["http://127.0.0.1:5555/callback"],
    "grant_types": ["authorization_code", "refresh_token"],
    "response_types": ["code", "id_token"],
    "scope": "openid offline",
    "audience": null,
    "owner": "",
    "policy_uri": "",
    "allowed_cors_origins": null,
    "tos_uri": "",
    "client_uri": "",
    "logo_uri": "",
    "contacts": null,
    "client_secret_expires_at": 0,
    "subject_type": "public",
    "token_endpoint_auth_method": "client_secret_basic",
    "userinfo_signed_response_alg": "none",
    "created_at": "2020-07-09T10:07:01Z",
    "updated_at": "2020-07-09T10:07:01Z"
  },
  "request_url": "http://127.0.0.1:4444/oauth2/auth?audience=&client_id=auth-code-client&max_age=0&nonce=shfxjszihgvbptswjbqsrdbg&prompt=&redirect_uri=http%3A%2F%2F127.0.0.1%3A5555%2Fcallback&response_type=code&scope=openid+offline&state=pmkekezifwwpgmzpckiqxzbt",
  "login_challenge": "de814daf9bbb4b788b505b3c2dd5ce20",
  "login_session_id": "c829da46-2041-400c-b72d-08324f878d0a",
  "acr": ""
}
The way you collect the consent information from the End-User is up to you. In most cases, you will show an HTML form similar to:
<form action="/consent" method="post">
  <input type="hidden" name="csrf_token" value="...." />
  <!-- Use CSRF tokens in your HTML forms! -->
  <input type="checkbox" name="scope" />
</form>
Accepting the consent flow
To accept the Consent Challenge, make an HTTP PUT request with Content-Type: application/json and a JSON payload (see
Accept Consent Request HTTP API Reference)
{
  // The scope granted by the user.
  "grant_scope": ["openid", "offline_access"],

  // The following fields are optional

  // The Access Token Audience if needed. Typically equals the `requested_access_token_audience` field from
  // the consent challenge.
  "grant_access_token_audience": ["https://my-audience.com"],

  // Remember, if set to true, tells Ory OAuth2 & OpenID Connect to remember this consent authorization and reuse it if the same client
  // asks the same user for the same, or a subset of, scope.
  "remember": true,
  // RememberFor sets how long the consent authorization should be remembered for in seconds. If set to 0, the
  // authorization will be remembered indefinitely.
  "remember_for": 3600,

  // Set the data for this consent "session"
  "session": {
    "access_token": {
      "foo": "This field will be available when introspecting the Access Token"
    },
    "id_token": {
      "bar": "This field will be available as a claim in the ID Token"
    }
  }
}
With curl this might look like the following request:
curl --location --request PUT 'http://127.0.0.1:4445/oauth2/auth/requests/consent/accept?consent_challenge=7bb518c4eec2454dbb289f5fdb4c0ee2' \
--header 'Content-Type: application/json' \
--data-raw '{
  "grant_scope": ["openid", "offline_access"]
}'
The server responds with JSON
{
  "redirect_to": "http://127.0.0.1:4445/oauth2/auth..."
}
which is the URL your application must the End-User's browser to.
Check the "Implementing the Consent Endpoint" Guide for examples using the Ory OAuth2 & OpenID Connect SDK in different languages.
Rejecting the consent flow
To reject the Login Challenge, make a HTTP PUT request with Content-Type: application/json and a JSON payload (see
Reject Consent Request HTTP API Reference)
{
  // The error should follow the OAuth2 error format (for example `invalid_request`, `login_required`).
  "error": "user_banned",

  // Description of the error in a human readable format.
  "error_description": "You are banned!",

  // Hint to help resolve the error.
  "error_hint": "Contact the site administrator.",

  // Debug contains information to help resolve the problem as a developer. Usually not exposed
  // to the public but only in the server logs.
  "error_debug": "The user was marked banned in the database.",

  // Represents the HTTP status code of the error (for example 401 or 403)
  //
  // Defaults to 400
  "status_code": 403
}
With curl this might look like the following request:
curl --location --request PUT 'http://127.0.0.1:4445/oauth2/auth/requests/consent/reject?consent_challenge=7bb518c4eec2454dbb289f5fdb4c0ee2' \
--header 'Content-Type: application/json' \
--data-raw '{
  "error": "user_banned",
  "error_debug": "The user was marked banned in the database.",
  "error_description": "You are banned!",
  "error_hint": "Contact the site administrator.",
  "status_code": 403
}'
The server responds with JSON
{
  "redirect_to": "http://127.0.0.1:4445/oauth2/auth..."
}
which is the URL your application must the End-User's browser to.
Check the "Implementing the Login Endpoint" Guide for examples using the Ory OAuth2 & OpenID Connect SDK in different languages.
Revoking consent
You can revoke a user's consent either on a per application basis or for all applications.
Revoking the consent will automatically revoke all related access and refresh tokens.
Don't use this endpoint to "invalidate" user sessions. Please revise your approach to and usage of OAuth2 if you use access / refresh tokens as user sessions (i.e. instead of browser cookies).
Revoking all consent sessions of a user is as easy as sending DELETE to /oauth2/auth/sessions/consent?subject={subject}.
Revoking the consent sessions of a user for a specific client is as easy as sending DELETE to
/oauth2/auth/sessions/consent?subject={subject}&client={client}.